Garden paths fail in wet soil more often than in any other condition. Gravel sinks into mud. Wood chips rot. Stepping stones tilt and become trip hazards. By the second season, the carefully built path is a sloppy mess that you avoid.
After several failed paths in our clay-heavy front yard, we have developed a reliable approach for wet conditions. The methods below are not the most beautiful options available, but they are the ones that work for years in soil that drains slowly.
Why wet soil destroys paths
The fundamental problem is that wet soil cannot support weight without deforming. A path resting directly on wet clay or saturated soil sinks into ruts wherever someone walks. Without a stable subbase, no surface material holds up for long.
The solution is always the same in concept: get the path surface off the wet soil through some form of drainage or elevated structure. The variations are in materials and methods.
Option one: thick gravel over drainage layer
For wet but not waterlogged sites, a properly built gravel path works well. The key is the layered construction: excavate 8 inches deep, fill the bottom 4-5 inches with coarse drainage gravel (called “57 stone” or similar), top with 2-3 inches of finer crushed stone (1/4 inch minus or decomposed granite) as the walking surface.
The bottom layer drains water away from the surface. The top layer compacts into a firm walking surface that water passes through quickly.
Edging matters here. Without containment, gravel migrates outward and the path widens into a mess. Use steel landscape edging buried at the edges, or large rocks placed deliberately along the borders.
Cost: $50-$150 in materials for a 20-foot path. Time: a long weekend. Lifespan: 10+ years with occasional top-ups.
Option two: stepping stones with crushed stone
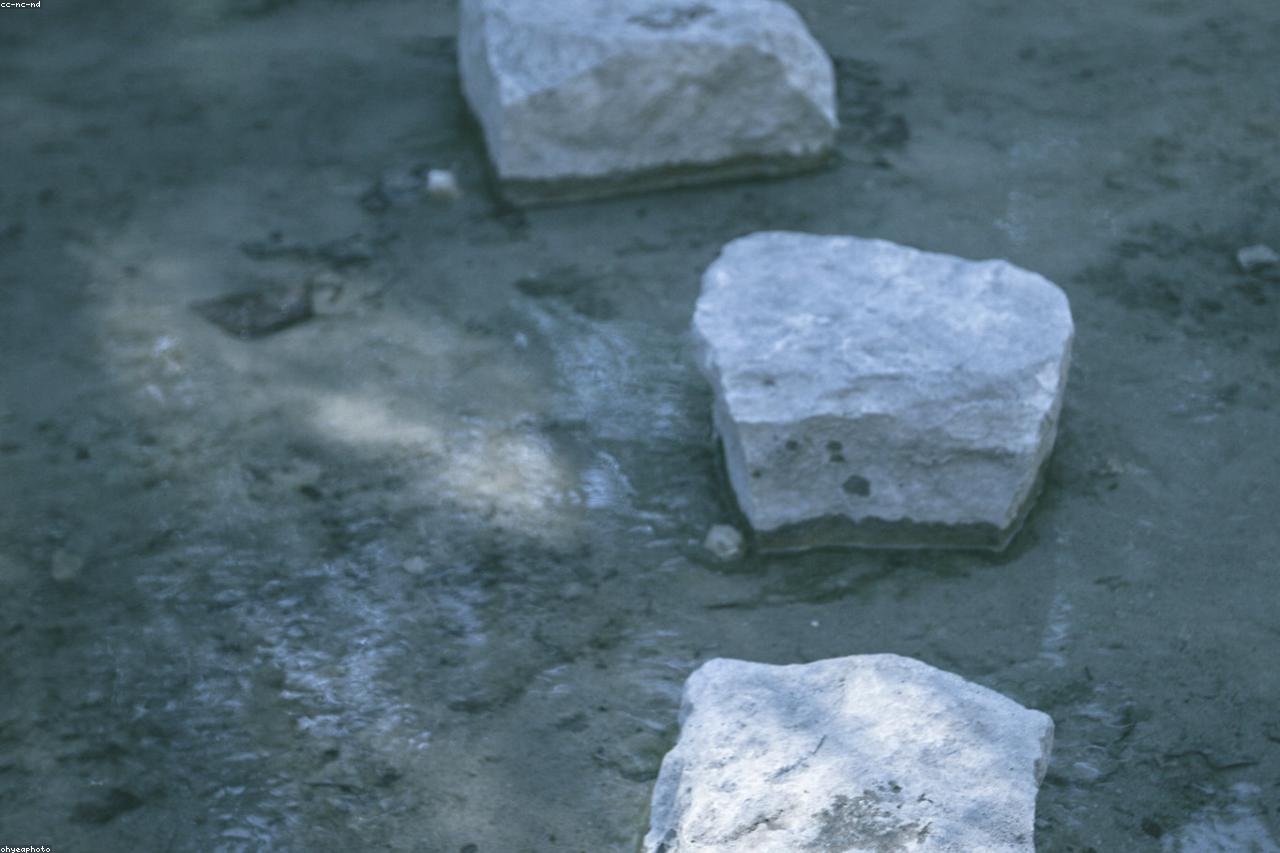
For wet sites where you want a more naturalistic look, large stepping stones set in crushed stone work well. The stones provide solid footing; the surrounding crushed stone drains water and stays walkable.
Use large flat stones (at least 18 inches across) placed at comfortable walking distances (about 24 inches center-to-center). Excavate each stone’s spot to 4 inches deep, fill with 2 inches of crushed stone, set the stone level with the surrounding ground. Fill between stones with 3 inches of crushed stone of similar color.
This path style holds up in wet soil because each stone has its own small drainage layer beneath it. Weight rests on the gravel, not directly on saturated clay.
Option three: raised wooden boardwalk
For the wettest sites or seasonally flooded areas, a raised wooden boardwalk solves the drainage problem by going over rather than through. The boardwalk sits on pressure-treated 4×4 sleepers laid on or just below grade. The walking surface is pressure-treated 2×6 or 5/4 deck boards screwed across the sleepers.
Build it like a low deck. The boardwalk can be 6-12 inches above grade depending on water levels. Allow gaps between boards (1/4 inch) for water to drain through.
Cost: $5-$8 per linear foot in materials. Time: a weekend for a 20-foot section. Lifespan: 12-20 years for pressure-treated lumber.
This option is more involved but it is the only path style that holds up in truly wet conditions: seasonally flooded areas, springs, or sites with high water tables. We installed one across a low spot in our back garden and it has held perfectly through six years of seasonal water cycles.
Option four: concrete pavers on drainage base
For more formal paths, concrete pavers (the kind used for patios) on a proper drainage base produce a polished result that holds up to wet conditions. The construction sequence is similar to gravel paths but with pavers as the final surface.
Excavate 6 inches deep, install 4 inches of crushed stone, top with 1 inch of stone dust as the setting bed, and lay pavers tightly together. Sweep polymeric jointing sand into the joints; it firms up when wet and prevents weeds from growing between pavers.
Cost: $4-$8 per square foot in materials. Time: a long weekend for a 4-foot wide, 20-foot long path. Lifespan: 20+ years.
Option five: French drain combined with mulched path
For wet sites where you want a soft natural path appearance, a French drain installed beneath a mulched path solves the underlying drainage and lets you use wood chip mulch on top.
Excavate 12 inches deep along the path centerline. Lay perforated drainage pipe (4-inch) wrapped in landscape fabric. Surround with coarse gravel. Cover with 6 inches of crushed stone, then 3 inches of wood chip mulch as the walking surface.
This path style requires the most work upfront but produces a soft natural surface that hides the engineering beneath. The French drain carries water away from the path area; the mulched surface stays dry and comfortable.
This is what we use for our garden paths in the wettest section of our property. Six years later they have held up beautifully and the visual effect is informal and natural.
Materials to avoid in wet conditions
A few materials simply do not work in wet soil and should be avoided despite their popularity.
Plain wood chips on bare soil. They rot, sink, and become slippery. Wood chips work as a surface only over a drainage layer.
Sand alone. It washes and shifts in wet soil. Sand is a setting bed, not a final surface in wet conditions.
Loose stepping stones without prepared base. They tilt within a season and become trip hazards.
Pea gravel. Round, small, and slippery; it scatters and migrates. Use angular crushed stone instead.
Loose bricks set in dirt. They sink unevenly and shift with frost heave.
A garden path in wet soil requires more engineering than one in dry soil, but the methods are not complicated. Either lift the path off the wet ground (boardwalk) or build a proper drainage layer beneath the surface material. Either approach produces a path that holds up for many years, regardless of how wet the underlying soil might be.
Related reading from the journal
For more along these lines, see Hedgerows for Small Properties: A Forgotten Idea Worth Revisiting, Low-Maintenance Garden Layouts for Working Households, and Native Plants for the Eastern United States: A Beginner Selection.
Further reading
Trusted references we consulted while researching this piece. All external.