A rain barrel was the first sustainability project we tried in our zone 6 garden. It was also the first project we did slightly wrong, which is part of the reason we are writing this guide. There are a hundred ways to set one up, half of them online, and most of them assume you have a workshop and a Saturday. You do not need either.
What you need is a barrel, a downspout, an afternoon, and a willingness to do the small alignment work that keeps the whole thing from sliding off its base in the first storm. The rest is just plumbing on the smallest possible scale.
We are going to walk through choosing the right size, prepping the spot, modifying the downspout, and the small habits that keep a barrel useful for ten years instead of two.
Why a rain barrel is worth the afternoon
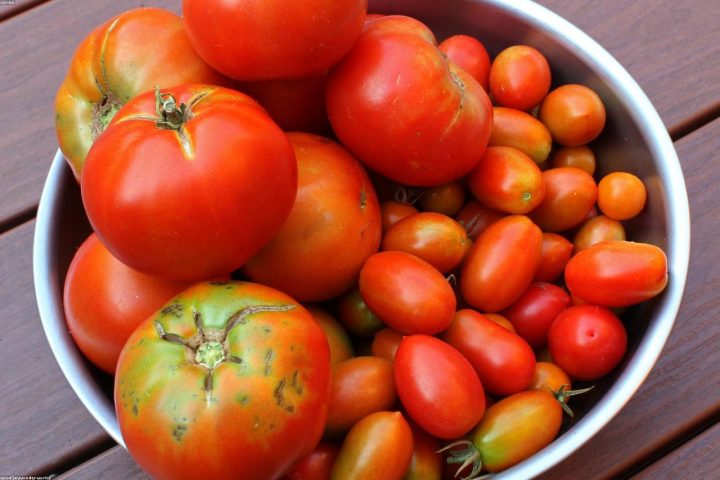
A single inch of rain on a one-thousand square-foot roof produces roughly six hundred gallons of runoff. Most of that pours straight into your municipal storm drain and ends up wasted. A rain barrel intercepts even a small portion of that flow and stores it for the dry weeks that always seem to come right when your tomatoes need it most.
There is also a quieter benefit. Rainwater is naturally slightly acidic and free of the chlorine and dissolved minerals that municipal water contains. Houseplants, blueberries, hydrangeas, and acid-loving crops behave noticeably better with rainwater. Our blueberry bed produced its first respectable crop the year we stopped watering with the hose.
Choosing the right size for your roof
The most common beginner mistake is buying a barrel that is too small. A standard fifty-gallon barrel sounds large until you realize a single thunderstorm can fill it within three minutes. If you live anywhere with moderate rainfall, the barrel will overflow before you finish your morning coffee and the rest of the storm is gone again.
For most home gardens we recommend at least seventy-five gallons of capacity, ideally linked across two barrels with a simple connector. This gives you a small buffer, lets the first barrel handle silt and debris, and gives you a useful reserve for a hot week.
- Under 500 sq ft of roof catchment: a single 50-55 gallon barrel is fine
- 500 to 1,000 sq ft: two linked 50-gallon barrels, or one 100-gallon unit
- Over 1,000 sq ft of catchment: consider a 200-gallon tote or daisy-chained barrels
Where to put it (the part most guides ignore)
The barrel must sit higher than the things you intend to water. Gravity is the only thing moving water out of the barrel, and water moves disappointingly slowly through a half-inch spigot if there is no head pressure behind it.
Plan to elevate your barrel on a stable platform of concrete blocks or pressure-treated lumber, eighteen to twenty-four inches off the ground. The platform needs to be perfectly level. Sixty gallons of water weighs about five hundred pounds, and an out-of-level barrel will lean, twist, and eventually tip in the first heavy rain. We learned this the unhappy way.
Modifying the downspout
You have two reasonable options for routing water from the downspout into the barrel. The first is to install a downspout diverter, which is a small fitting that fills the barrel through a side port and lets overflow return to the original downspout once the barrel is full. This is the cleanest solution and what we recommend for a first install.
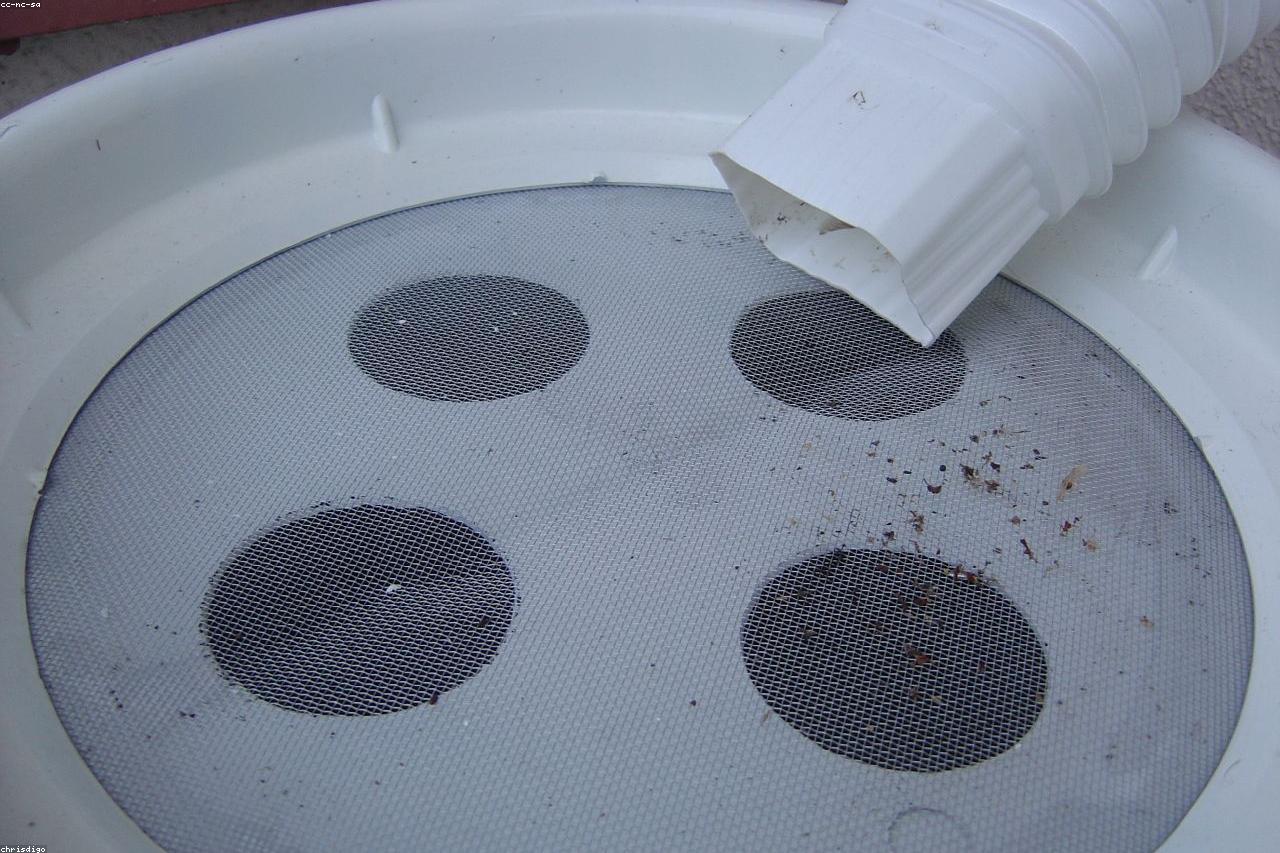
The second option is to cut the downspout and angle it directly into the barrel through a screened opening. This is simpler but requires you to remember to disconnect the spout in winter or in heavy storms to prevent overflow problems against the foundation.
The simple parts list
- One food-grade plastic barrel with a sealable top
- A 3/4-inch brass spigot, a rubber washer, and silicone sealant
- A downspout diverter kit (about $25 at most hardware stores)
- Four to six concrete blocks for the platform
- Quarter-inch hardware cloth to screen the inlet
- A short garden hose or watering can for use at the spigot
Maintenance, calmly
Twice a year, in early spring and late autumn, drain the barrel completely and rinse the inside with a long-handled brush. Pull off the inlet screen and clean off any debris that has collected. In a zone that freezes hard, disconnect the diverter or empty the barrel before the first deep frost so ice does not split your spigot or warp the lid.
The rest of the year a rain barrel asks for almost nothing. Open the spigot, walk the can to your tomatoes, and feel a small, useful pleasure that costs nothing and benefits everything downhill.
A first rain barrel is one of the most quietly satisfying projects a new gardener can take on. It is cheap, it is reversible, and within one growing season you will probably wonder why you waited so long.
Connecting two barrels for real capacity
The 55-gallon single-barrel setup works for a first year. By the second summer most gardeners we know wish they had more capacity. The good news is that adding a second barrel doubles your stored water with minimal additional infrastructure.
The cleanest method is a half-inch overflow tube between the two barrels installed near the top. When barrel one fills, the overflow naturally feeds barrel two. You draw from either barrel as needed; the lower water level redistributes through the overflow. Total parts cost is under fifteen dollars: two bulkhead fittings, two threaded adapters, and a short length of half-inch PEX or vinyl tubing.
Setup time is about thirty minutes if both barrels are already platforms. Position them within four feet of each other so the connecting tube stays short and unobstructed. Both barrels need to sit at the same height; uneven barrels send all the water to the lower one regardless of which fills first.
Three linked barrels (165 gallons total) is the practical upper limit for most home roofs. Beyond that, consider a single larger tote tank instead. A 275-gallon IBC tote from a local food-grade source often costs less than three new barrels and stores the same water in a smaller footprint with less plumbing.
Related reading from the journal
Other entries worth your time: Rainwater Harvesting in Apartments and Small Balconies, Reading Your Soil Moisture Without Buying a Meter, and Seven Common Watering Mistakes Even Patient Gardeners Make.
Further reading
Trusted references we consulted while researching this piece. All external.