Drip irrigation has a reputation problem. It sits in catalogues looking like the kind of project you need an engineering degree to begin. For a backyard or raised-bed garden, the reality is much friendlier than that. A complete starter system can be installed in a long afternoon, costs less than a decent pair of pruners, and will pay you back in saved water and dramatically healthier plants by the end of the first summer.
We have run drip in our beds for six seasons now. The system has changed every year as we have learned what works, what fails, and what was an upsell. This guide is the version we wish we had read on day one.
Why drip beats almost everything else
Sprinklers waste a significant share of their output to evaporation and wind drift, especially in hot afternoons. Hand watering is meditative but rarely consistent. A drip system delivers water slowly at the soil level, where the roots actually live, and almost none is lost to the air. Studies from cooperative extensions consistently show drip uses around half the water of conventional overhead watering for the same plant performance.
There is a second benefit that is harder to put on a brochure: drip dramatically reduces leaf-related disease. Tomato early blight, powdery mildew on squash, and bacterial spot on peppers all spread through wet foliage. A drip system keeps leaves dry, which alone can shift a struggling garden into a healthy one.
The four parts of a basic system
Every drip system has the same four components, no matter how fancy the catalogue makes it look. Once you understand these, you can plan a layout for your space without overbuying.
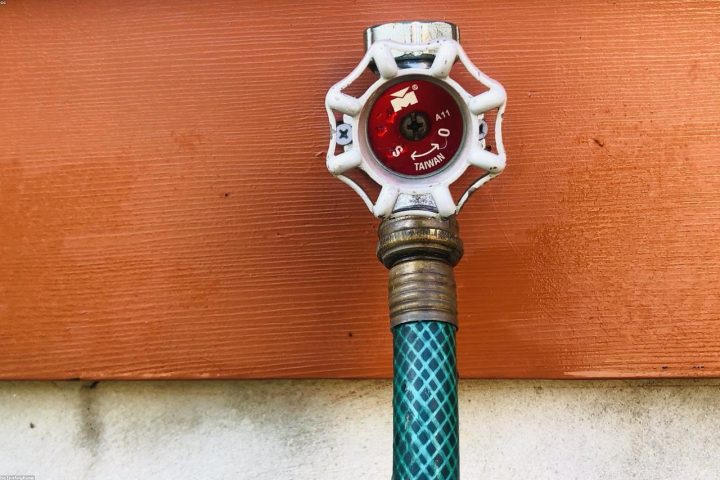
- The head assembly: this connects to your spigot and includes a backflow preventer, a small filter, and a pressure regulator. You buy this once and reuse it forever.
- Main line tubing: 1/2-inch black poly tubing carries water from the spigot to your beds. Buy a 100-foot roll; you will use most of it.
- Emitter line or individual emitters: the part that actually drips. Inline emitter tubing has emitters built in at fixed spacing; individual emitters punch into the main line wherever you want.
- Fittings and end caps: couplers, elbows, tees, and goof plugs for the small inevitable mistakes.
Sizing for a typical backyard bed
A standard 4-by-8 raised bed needs roughly twenty-four feet of emitter tubing arranged in three parallel runs spaced twelve inches apart. This delivers an even moisture profile across the bed without dry spots between rows. For an inground garden of similar size, plan for the same spacing but expect to use eighteen-inch spacing between rows if your soil drains quickly.
Most home systems run at the standard residential pressure of around forty psi, but drip lines like to operate at twenty-five psi or lower. The small inline pressure regulator at the head assembly handles this for you. Skip the regulator and your emitter tubing will eventually blow off the main line in the middle of the night, which is a memorable mistake to make once.
A simple installation morning
Plan the layout before cutting anything. Walk the route from your spigot to each bed and lay out tubing roughly where it will live. Account for path crossings, where you will need to bury or armour the tubing against shoes and shovels.
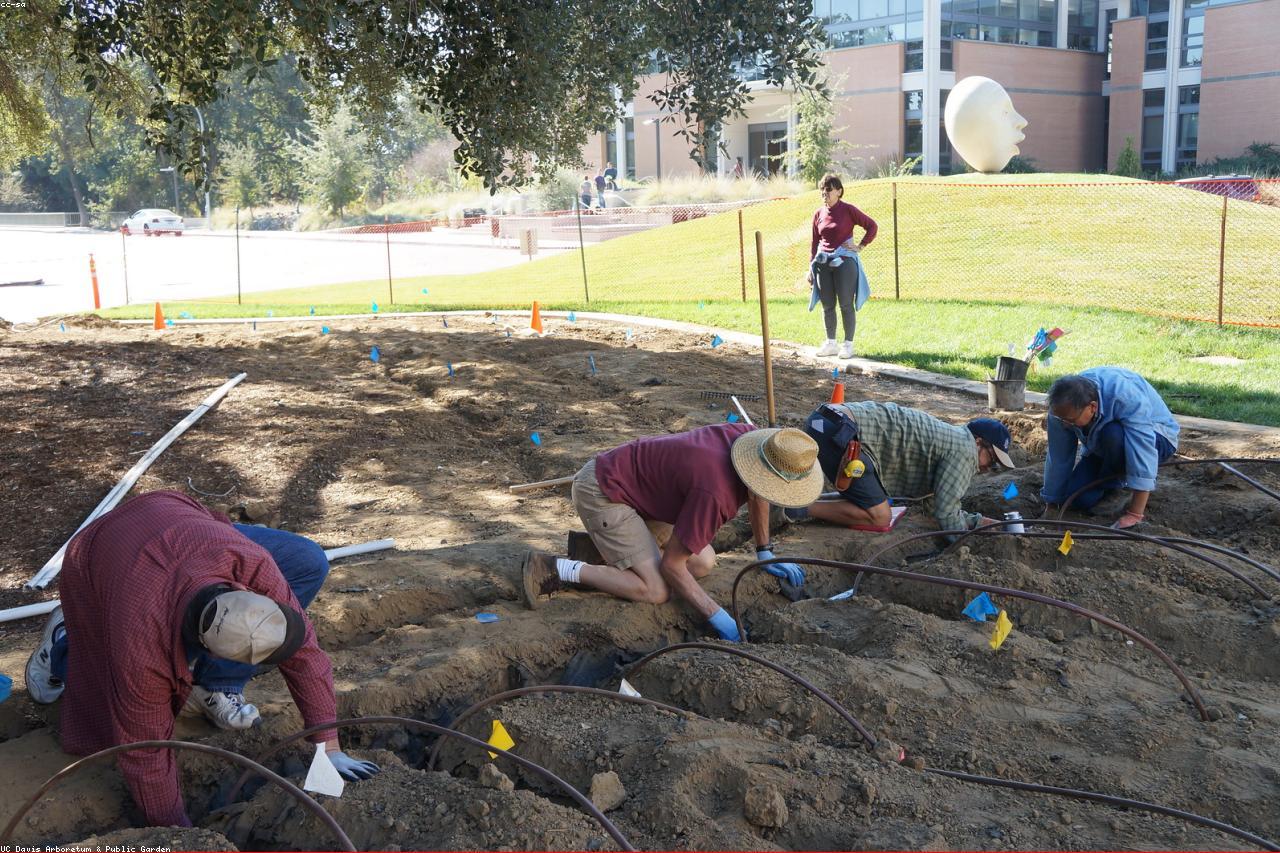
Assemble the head at the spigot, run the main line to your beds, cap the end, and then pierce the main line with the small barbed fitting that connects each emitter line. Lay the emitter tubing in your beds, fasten it with garden staples every few feet so it does not wander, and cap the end with a figure-eight end clamp. Open the spigot and walk the lines. Plug any unintended drips with the included goof plugs.
Programming, or just remembering
You have two options for control: a battery-powered hose timer ($30 to $50) that turns the system on and off automatically, or your own memory. Both work. The timer earns its keep in the second summer when you travel and the garden does not die. The memory option works fine for a small first system if you are around most days.
For most vegetable gardens, run the drip for forty minutes in the morning, three times per week, during peak summer. Cut to twice a week in cooler months. Watch your plants and your soil. If the soil six inches down is still moist at the next scheduled run, skip it. If plants are wilting in early morning before the sun has touched them, water more.
Common first-year problems
Three things go wrong the first season: the filter clogs, an emitter gets buried in soil and blocks, or a connector pops off when the cat sits on it. All three are solved in ten minutes. Clean the filter at the start of each month. Flush the system by uncapping the ends once each spring. Replace the occasional bad emitter with a fresh one from the same spool.
The system does not need much else. A well-installed drip line will last between seven and ten seasons in northern climates and slightly less in regions with hard freezes that catch you off guard.
A drip system is one of the few sustainable garden upgrades that pays back in both water and plant performance in the same season. Start small, install it correctly once, and you will probably never go back to hand watering as the default.
Diagnosing a drip system that has stopped delivering water
Drip systems develop problems gradually. The first sign is usually a single emitter producing less water than its neighbors, followed by a cluster of weak emitters, eventually escalating to system-wide pressure problems. Catching the early signs prevents major repairs.
The most common cause is filter clogging. The small mesh filter at the head assembly catches sediment, mineral deposits, and biological growth. After several months of use, the filter becomes restrictive even if not fully blocked. Symptoms: overall reduction in flow throughout the system. Fix: unscrew the filter housing, rinse the mesh under tap water, scrub gently with an old toothbrush if needed.
The second common cause is mineral deposits in individual emitters, especially in areas with hard water. Symptoms: scattered emitters producing reduced or zero flow while neighbors work normally. Fix: pull the affected emitters and either replace them ($0.20 each in bulk) or soak in white vinegar for 30 minutes to dissolve the mineral buildup.
The third cause is air locks in the main line, particularly after the system has been drained for winter and restarted in spring. Symptoms: erratic flow during the first few minutes of operation. Fix: open the end caps of the main line briefly to allow trapped air to escape; usually self-resolves within a few minutes once water is flowing through the lines.
A 10-minute annual cleaning of the filter and end caps prevents 80 percent of drip system problems before they appear.
Related reading from the journal
Other entries worth your time: 12 Drought-Friendly Plants That Stay Beautiful Without Pampering, Gray Water Gardening: What Works and What to Avoid, and How Much Water Does a Vegetable Garden Really Need?.
Further reading
Trusted references we consulted while researching this piece. All external.