A 12-inch terracotta pot in full July sun near Asheville can lose two-thirds of its water in a single afternoon. That is not a plant problem or a soil problem. That is a design problem, and it is why so many container gardens turn into a 7 a.m. and 6 p.m. chore that eats the summer.
The fix is structural. Change how the pot is built, what sits on top of the soil, and where the whole thing lives, and a watering routine that used to be twice daily can drop to twice a week. Below is what has actually worked in my zone 7a beds and on the porches of the two neighbors I keep bailing out every August.
Why containers dry out so fast in the first place
A pot has five evaporation surfaces to an in-ground bed’s one: the soil surface plus four exposed sides that heat up in the sun. A dark plastic nursery pot at 95 F ambient can hit an internal soil temperature of 115 to 120 F on the sunny side, which cooks fine roots and drives water out faster than the plant can pull it up.
Small pots make it worse. A 6-inch pot holds about 0.5 quarts of usable water. A 14-inch pot holds closer to 4 gallons. That is not a linear jump, it is a step change, and it is the single biggest lever most gardeners never pull.
Size up before you do anything else
If a plant is currently in anything smaller than 10 inches across, moving it into a 14- or 16-inch pot with a proper soil volume will do more than any watering gadget on the market. A 14-inch pot with roughly 3 gallons of quality mix will support a tomato, a pepper, or a full basil clump through a 95 F day without wilting, provided the surface is mulched.
Material matters too, but less than people think. Here is the working ranking I use:
| Pot type | Relative dry-out speed | Notes |
|---|---|---|
| Unglazed terracotta | Fastest | Beautiful, wicks moisture out through walls |
| Thin black nursery plastic | Fast | Heats up worst in direct sun |
| Glazed ceramic | Moderate | Sealed sides slow evaporation significantly |
| Thick-walled resin or fiberstone | Slow | Best all-round, insulates roots |
| Fabric grow bag | Fastest of all | Great drainage, brutal water loss, needs shade |
I still use terracotta for herbs on the porch because I like how it looks, but I only put drought-tolerant plants in it: rosemary, thyme, oregano, sage. Basil goes in a 14-inch glazed pot every time now.
Build the soil to hold water, not just drain it
Most bagged potting mixes are engineered to drain fast so nursery growers do not lose stock to root rot. That is the wrong recipe for a July porch. The mix I use now is 60 percent quality peat-based or coir-based potting soil (Pro-Mix HP or FoxFarm Ocean Forest), 20 percent finished compost, and 20 percent coarse perlite. The compost is the key. It roughly doubles the water-holding capacity per gallon of mix compared to straight bagged soil.
I also mix in a small handful of granular Osmocote 14-14-14 or a tablespoon of worm castings per gallon of soil. A hungry plant transpires more looking for nutrients it cannot find, which shows up as wilt you keep chasing with the hose.
Skip the gravel layer at the bottom. It does not improve drainage, it raises the perched water table, and it steals soil volume. That myth has been debunked repeatedly by university extension services including University of Wisconsin Horticulture.
Mulch the pot like you would mulch a bed
An unmulched pot surface loses roughly twice the water of a mulched one on a hot dry day. This is the single cheapest change on the list. A 1-inch layer of any of the following works:
- Fine pine bark (my default, looks tidy, lasts a full season)
- Shredded straw or chopped hay (best moisture retention, but slugs love it)
- Small river pebbles (heavy, permanent, great for succulents and rosemary)
- Coconut coir mulch discs sized to the pot (clean, expensive)
Leave a half-inch gap around the plant stem so the crown does not stay wet. I keep a five-gallon bucket of pine bark on the porch all summer and top up any pot that starts to look bare.
Group pots so they cool each other
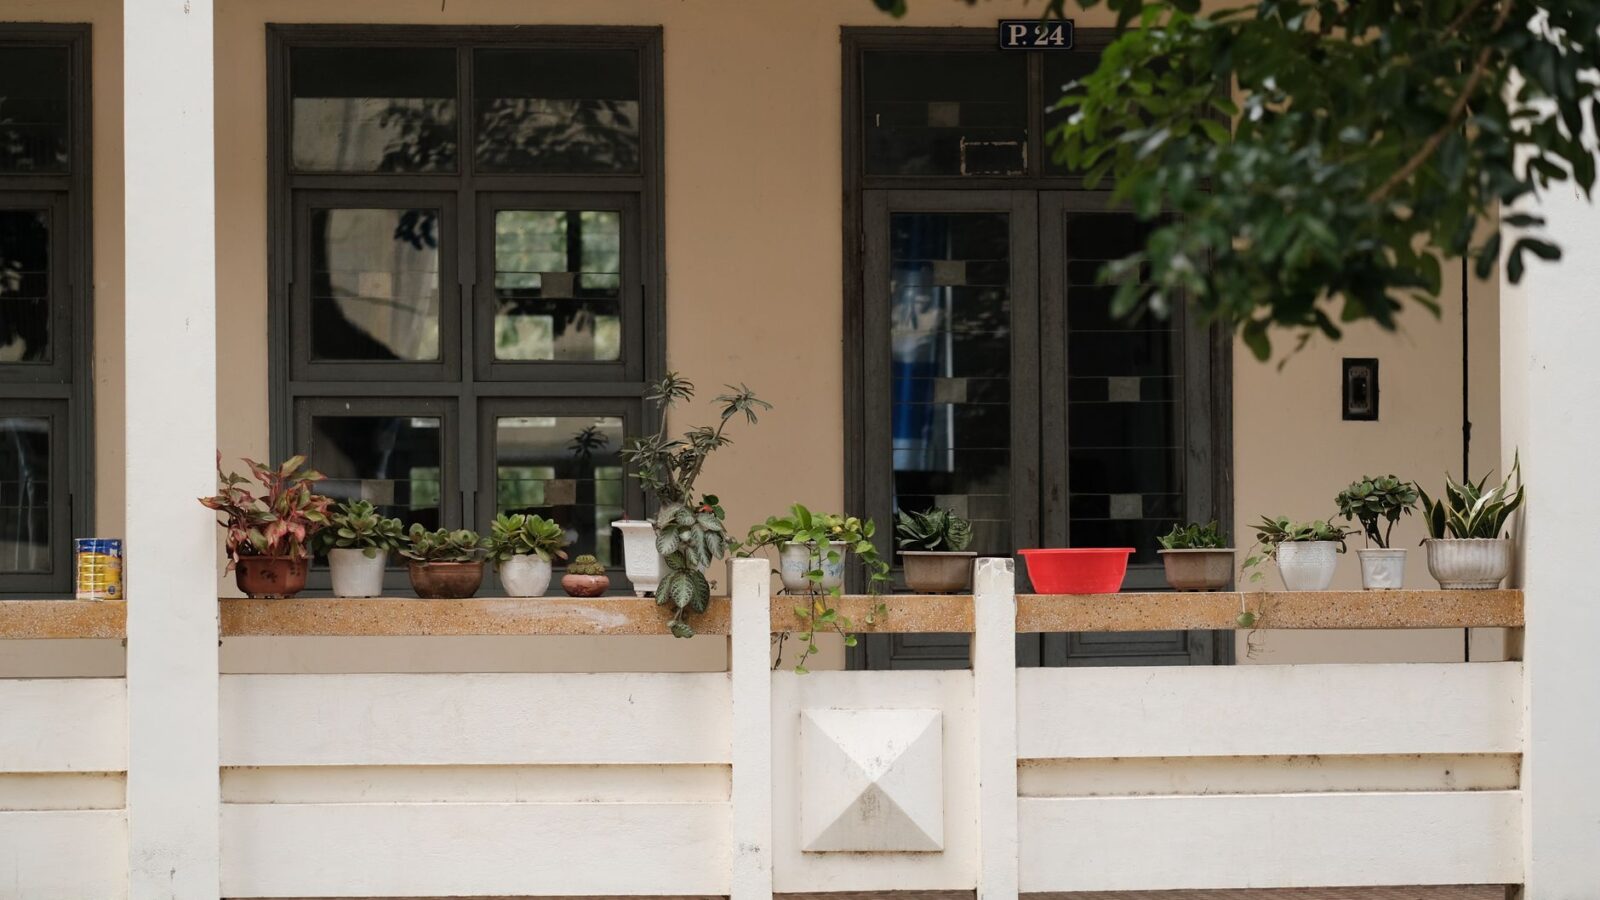
A single 10-inch pot standing alone on a concrete patio is a solar oven. The same pot pushed into a cluster of six or seven other pots loses maybe a third less water, because the outer pots shade the inner ones, humidity pools around the leaves, and radiant heat off the concrete gets broken up.
Group by water need, not by looks. All the thirsty plants (tomato, basil, cucumber, lettuce, coleus, most annuals) go in one tight cluster you can hit with one pass of a hose. Drought-tolerant stuff (rosemary, lavender, sedum, geranium, pelargonium) goes in a second cluster you check every 4 or 5 days. That alone can cut your watering time by half because you stop overwatering the plants that do not want it.
The 4-inch reservoir trick
For any pot 12 inches or larger, sit it inside a shallow saucer or a slightly wider outer pot with 3 to 4 inches of clearance under the growing pot. Fill that gap with pea gravel or coarse sand. When you water, the excess collects in the reservoir and wicks back up over the next 24 to 48 hours.
In my beds this has stretched a 14-inch tomato pot from a once-a-day water in mid-July down to every third day. It is not a self-watering planter (those work too, the OXO and Bloem versions are good), but it costs almost nothing and uses pots you already own.
What wilt actually tells you
Not all wilt is thirst. Midday leaf droop on tomato, squash, and pepper in full sun above 90 F is often just heat stress, and the plant will bounce back after 6 p.m. without any water at all. Watering a heat-wilted plant that already has moist soil pushes it toward root rot.
The reliable test is the finger. Push a finger 2 inches into the soil. If it comes out with soil clinging to it and feels cool, do not water. If it comes out dry and dusty, water thoroughly until it runs from the drainage holes. A cheap moisture meter (the $8 analog kind, not the digital ones which drift) is accurate enough for this and lives in the pot cluster all summer at my place.
Failure signs to catch early
If a pot has gone truly bone dry, water will run straight through without wetting the root ball. You will see it come out the drainage holes in 5 seconds. The fix is to sit the whole pot in a bucket of water up to the rim for 20 to 30 minutes until bubbles stop rising, then let it drain. Trying to rehydrate from the top with a hose can take an hour and still leave a dry core.
Yellowing lower leaves with moist soil usually means the opposite: too much water, not too little. Pull back for 3 or 4 days, check the drainage holes are not blocked, and consider whether the pot is sitting in standing water in its saucer.
A realistic summer routine
For a mulched, grouped, properly sized container garden of about 15 pots in zone 7a, a workable July schedule looks like this: a deep water Monday morning that runs until it drips from the drainage holes, a spot-check Wednesday evening for the thirstiest three or four pots, and another deep water Friday morning. Total time on the porch, about 20 minutes across the week.
That is the whole promise. Not a smart system, not a drip kit, not a schedule of alerts. Bigger pots, better soil, mulch on top, grouped tight, checked with a finger.
Frequently asked questions
How often should I water containers in extreme heat?
In sustained 95 F or hotter weather, check daily but only water when the top 2 inches are dry. Well-mulched 14-inch or larger pots with the reservoir trick usually still only need water every 2 to 3 days even in a heat wave. Small pots under 8 inches will need daily water no matter what, which is why the first fix is always to move plants into bigger containers.
Are self-watering containers worth it?
Yes, for tomatoes, peppers, and anything you plan to leave for a weekend. The EarthBox and the Bloem Ariana are the two I recommend at around $40 to $60. They hold 2 to 3 gallons in the reservoir and can genuinely go 4 to 6 days between fills for a mature tomato. They are overkill for herbs or drought-tolerant plants.
Can I use gel water crystals or hydrogels?
They work, briefly, but they break down within one season and the polyacrylamide crystals raise questions about long-term soil safety. Compost and coir added to the mix do the same job more durably at lower cost. If you already have a bag, use it in hanging baskets where every gram of water retention counts.
What about drip irrigation on a timer?
Worth it once you have more than 20 pots or if you travel. A basic Rain Bird or Orbit drip kit runs about $50 and a mechanical hose timer another $25. For a small cluster of 6 to 10 pots, the setup time and winterizing are not worth it compared to just watering by hand twice a week.
My pots leach salt crusts on the outside. Is that hurting the plants?
The white crust on terracotta is mostly harmless minerals from your water and fertilizer. It looks worse than it is. If the crust is heavy and the plant is struggling, flush the pot by watering with plain water until double the pot’s volume has run through the drainage holes. Do that once a month in hard-water areas.
Further reading
Trusted references we consulted while researching this piece. All external.