Most beginner composting articles open with a chart of carbon-to-nitrogen ratios that scares half the readers away before they have built anything. We are going to take a different route. There is a simple, forgiving, low-effort way to start composting in a small backyard, and it does not require a chemistry degree.
Our first compost pile was a heap of leaves and kitchen scraps in a corner of the yard, covered loosely with a tarp. It produced usable compost in nine months. The system has gotten more sophisticated over the years, but the lessons we learned in that first heap still inform everything we do now.
The principle, in one paragraph
A compost pile is a controlled rotting process. Microorganisms break down plant material faster when they have the right mix of carbon (browns: dry leaves, paper, cardboard) and nitrogen (greens: kitchen scraps, fresh grass, garden trimmings), enough moisture (about the dampness of a wrung-out sponge), and enough air (achieved through occasional turning or a loose structure). That is the whole thing. Everything else is refinement.
Choosing a spot
The ideal spot for a backyard pile is partially shaded, near a water source, and out of the prevailing wind. Full sun pulls moisture from the pile faster than you can keep up with in summer. Deep shade keeps the pile too cool to break down efficiently. Look for dappled light, near a path, where you can reach it with a hose if needed.
Sometimes the perfect spot does not exist in a small yard. Pick the next best option, place the pile on bare soil (not concrete or pavers), and accept that you will need to monitor it slightly more closely. A pile on soil benefits from worms migrating up into the warmth, which dramatically speeds the breakdown process.
The simplest possible structure
For a first pile, three options are all reasonable starting points. Each has its trade-offs.
- Open heap on bare soil. The classic version. Free, infinitely adjustable, visually rustic. Best for yards with space and tolerance for the visual.
- Three-pallet bin. Three wooden pallets wired together to form a U-shape, with the open side facing front. Cost: usually free. Excellent airflow.
- Plastic or wire compost bin. $40-$80 from any garden centre. Tidier appearance, contains visual mess, slightly slower than open bins due to reduced airflow.
The first build
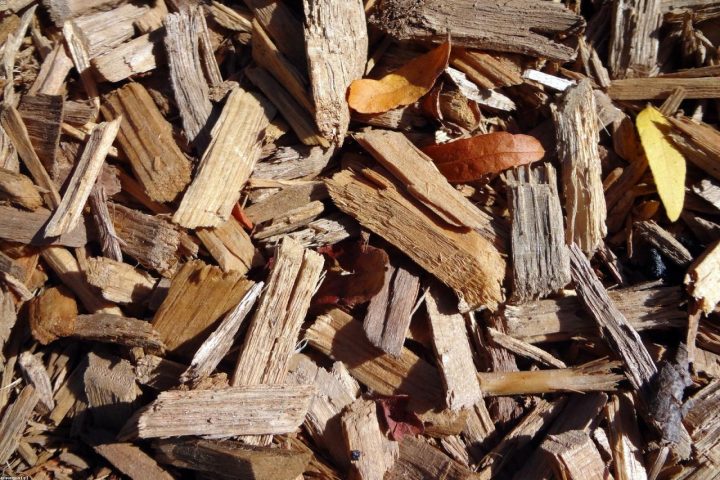
The first layer of any new pile should be coarse: small sticks, dry corn stalks, or a layer of straw. This gives the pile a porous base that allows airflow underneath and prevents the bottom from compacting into an anaerobic mat.
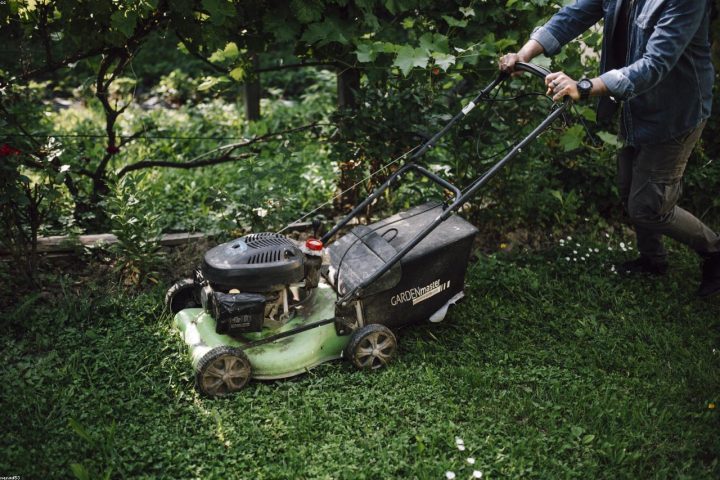
On top of that base, alternate browns and greens in roughly two-to-one ratio by volume. A rough rule of thumb is two five-gallon buckets of browns for every one bucket of greens. The browns can be shredded leaves, torn cardboard, brown paper bags, or dried grass clippings. The greens are kitchen scraps, fresh grass clippings, and trimmings from the garden.
Water lightly as you build, just enough that the materials feel damp but not soaked. The whole pile should be the dampness of a wrung-out sponge by the end of construction. Cap with a final layer of browns to discourage fruit flies.
What goes in, what stays out
The list of compostable materials is longer than people realize. The list of things to avoid is shorter than people fear.
Yes: vegetable and fruit scraps (including citrus peels in moderation), coffee grounds and filters, tea bags (paper only), eggshells, plain bread, grains, plant trimmings, leaves, grass clippings, straw, shredded paper and cardboard, sawdust from untreated wood, garden weeds before they have set seed.
No: meat, fish, or bones (attract rodents and create odor); dairy (same reason); oils and fats; pet waste from carnivorous pets (parasite risk); diseased plant material (the heat may not kill the disease); weed seeds and persistent perennial weeds (which often survive composting); anything from a recently herbicide-treated lawn.
The rhythm of a year
A first-year composting routine looks roughly like this. Each step is short.
- Weekly: add kitchen scraps in a small countertop pail, walk out every few days and tip into the pile, cover with a handful of browns each time
- Monthly in growing season: turn the pile with a garden fork to add air, or just stir the top foot if turning the whole pile is too much
- Quarterly: check moisture by squeezing a handful from the middle; if it does not produce a few drops, water lightly
- Annually: remove the finished material from the bottom of the pile (or from the second bin if you have a three-bin system) and use in the garden
When is it actually ready
Finished compost is dark brown to black, has a crumbly texture similar to coffee grounds or cake, and smells like a forest floor after rain. There should be no recognizable food scraps or fresh-looking material. If you can still identify the original ingredients, it is not done yet.
Most open piles produce usable compost in nine to eighteen months. Active piles that are turned frequently and well balanced can produce in four to six months. Slow, set-and-forget piles take a full year or more. Either approach works.
A first compost pile does not need to be perfect. It needs to be started. Build it loosely, add to it patiently, and within a year you will have a steady supply of one of the most valuable things any garden can use. The rest is just refinement.
What we wish we had known about compost piles before starting
Several lessons from our first compost piles took multiple seasons to fully understand. Knowing them at the start would have saved time and a few discouraging early failures.
The pile needs critical mass to function. A pile smaller than 3 feet by 3 feet by 3 feet rarely heats up enough to break down efficiently. Our first pile was too small for a year before we built up enough volume; the contents simply sat without composting. If you do not have enough material to build a properly sized pile at once, save kitchen scraps for a few weeks in a sealed container until you can build the pile in one session with adequate volume.
The pile location matters more than expected. We moved our pile twice in early years before finding the right spot. The current pile is in partial shade (full sun dries it out too quickly in summer), accessible from a path (no walking through grass to add scraps), and within reach of a hose (for occasional watering during dry stretches).
The pile takes longer than internet articles suggest. Most beginner guides claim finished compost in 3-4 months. The reality for an unturned home pile is closer to 9-12 months. Plan for the longer timeline; turn the pile every few weeks if you want to accelerate.
The pile builds momentum over years. Year one compost is functional but limited. Year three compost produces visibly improved beds. Year five compost transforms soil dramatically. The benefits compound; the early effort is the hardest part.
Related reading from the journal
If you found this useful, you may also like Why Compost Smells Bad (And How to Fix It in a Weekend), Worm Composting Indoors: A Realistic Setup Guide, and Bokashi vs Traditional Composting: Which Suits Your Kitchen.
Further reading
Trusted references we consulted while researching this piece. All external.