Cover crops sound like something a larger farm worries about. The practice translates surprisingly well to home gardens, where a single overwintering rye crop or a six-week buckwheat break crop can do more for the soil than several years of compost applications.
We started cover cropping our raised beds in year three of the garden, mostly out of curiosity. The difference in the following spring’s soil was striking. Six seasons in, every bed in our garden gets at least one cover crop a year. This guide describes the simple system that has worked for us.
Why bother in a home garden
A cover crop is a plant grown specifically for the soil, not for harvest. The benefits compound across multiple categories.
- Erosion control. Plant cover holds soil in place through winter rains and snow.
- Weed suppression. A dense cover crop outcompetes weed seeds for light and moisture.
- Organic matter. Roots and aboveground biomass become next season’s soil food.
- Nitrogen fixation. Legume cover crops (clover, vetch) pull nitrogen from the air into the soil.
- Soil structure. Deep-rooted cover crops break up compaction. Fine fibrous roots build aggregate structure.
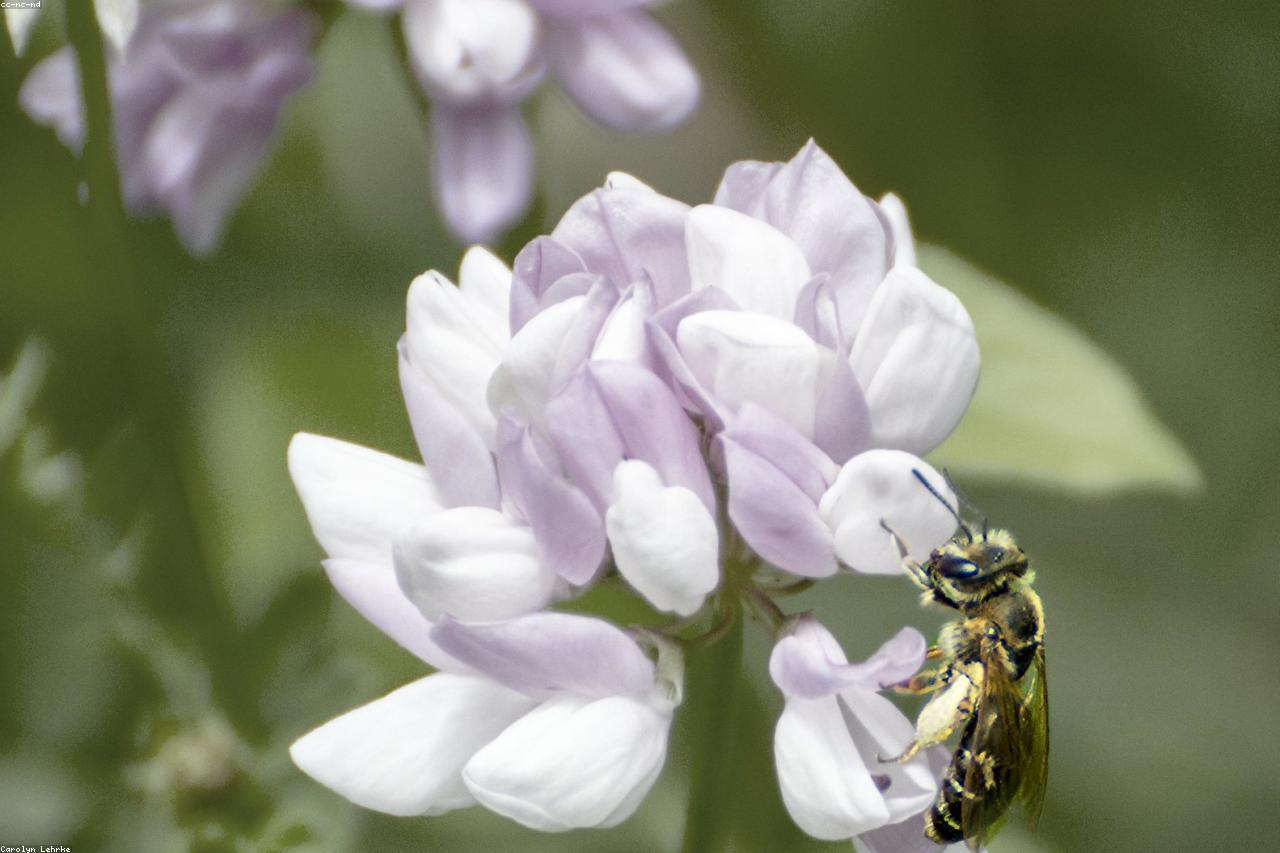
- Pollinator support. Flowering cover crops feed beneficial insects during sparse periods.
The three windows that matter
Three timing windows fit naturally into a home garden calendar.
The autumn-to-spring overwinter cover. Planted after final harvest in September or early October, growing through autumn, dormant through winter, terminated in early spring before the next crop. This is the highest-leverage window and the one most worth using.
The summer break crop. Used in beds that open up mid-season (after spring lettuce, early peas, or garlic harvest) and will not be replanted until autumn or the next spring. A six-to-eight-week buckwheat sowing turns this idle bed into a productive soil-building period.
The intercrop or living mulch. A low-growing cover (white clover, hairy vetch) planted between taller crops. This is the most advanced version and requires careful management; most home gardeners do not need to attempt it.
Cover crops by category
Different cover crops do different things. Choose based on what your soil needs.
- Nitrogen fixers (legumes): hairy vetch, crimson clover, field peas, white clover. Best after heavy feeders like tomatoes or corn.
- Biomass producers (grasses): winter rye, cereal oats, barley, sorghum-sudan grass. Best for adding organic matter to thin or sandy soils.
- Subsoil breakers (deep roots): daikon radish, oilseed radish, mustard. Best for compacted soils or hard pan layers.
- Quick break crops: buckwheat (6-8 weeks), phacelia (8-10 weeks). Best for short summer gaps.
- Mixes: rye-vetch, oats-peas, multi-species blends. Best for general purpose; multiple benefits at once.
Planting in a small bed
For small home gardens, broadcast seeding is almost always the right method. The careful row spacing useful at field scale is unnecessary in a 4-by-8 raised bed.
Clear the bed of any remaining crop debris. Lightly rake the surface. Broadcast seeds at the rate listed on the packet, scattering by hand for even coverage. Rake again lightly to incorporate seeds into the top half-inch of soil. Water thoroughly if rain is not forecast within a few days.
Cover crops planted in early autumn establish quickly in still-warm soil. Cover crops planted later (late October, early November in northern climates) will germinate but grow slowly until spring. Both work; the earlier planting produces more biomass.
Terminating before the next crop
The biggest difference between farm-scale and home-scale cover cropping is termination. Large farms use crimper-rollers or herbicides. Home gardeners have simpler options.
The simplest method is to mow or chop the cover crop down to about two inches when it has begun to flower (or in early spring for winter rye). Leave the cuttings on the soil surface as mulch. Wait two to three weeks before planting the next crop, to allow the cut material to begin breaking down.
The tarp method works for winter rye and other tough cover crops. Mow the rye in early spring, then cover the bed with an opaque tarp for two to four weeks. The lack of light kills the rye, after which you remove the tarp and plant directly into the dead biomass. This method is preferred by many no-till gardeners.
The “chop and drop” method, which we use most often, simply involves cutting the cover crop down with shears or a sharp hoe at the flowering stage, then leaving everything in place as mulch. Within three weeks, the bed is ready for direct planting through the residue. The soil structure has improved without disturbance.
A common mistake to avoid
Cover crops are not “set and forget.” They need to be terminated at the right stage, ideally before they have set seed. A cover crop that goes to seed becomes next year’s weed problem. We learned this with hairy vetch that we let go too long one spring; we are still pulling vetch seedlings from that bed two years later.
For grasses (rye, oats, barley), terminate when the seed heads are formed but still green, before they harden. For legumes (vetch, clover), terminate at peak flowering before seeds set. For brassicas (radish, mustard), terminate at full flower or the first sign of seed pods forming.
The timing window for clean termination is usually about two weeks. Pay attention during this window and you will not have problems.
Cover cropping is a small commitment for an outsized soil benefit. The autumn-to-spring rye crop alone, applied to even a single small bed, transforms how that bed performs in the following season. Start with one bed this autumn, see what happens, and add more cover cropping next year if you like what you see.
Related reading from the journal
For more along these lines, see Five Natural Fertilizers Worth Making at Home, Building Healthy Soil Without Chemical Fertilizers, and The Kitchen Scraps You Should Never Add to a Compost Bin.
Further reading
Trusted references we consulted while researching this piece. All external.