A productive garden in late summer produces more food than any household can eat fresh. The excess can be composted (a fine use), given away (always appreciated), or preserved for use through the winter and following spring. Preservation extends the garden’s value across the entire year and turns a few weekends of work into months of meaningful food.
After several years of preserving with varying methods, we have settled on five reliable techniques that fit a busy household. Each one has a place; no single method handles every harvest. This is a practical introduction to building a useful pantry.
Method one: freezing (the simplest)
Freezing is the easiest preservation method and produces excellent results for most vegetables. Equipment needed: a freezer, freezer-safe bags or containers, a large pot for blanching, ice water for cooling. Total investment: $20 if you have a freezer.
The basic process: blanch vegetables briefly in boiling water (timing varies by vegetable), shock in ice water immediately, drain, pack in freezer bags with as much air removed as possible, label with date and contents, freeze.
Best for: green beans (blanch 3 minutes), broccoli and cauliflower florets (3 minutes), corn cut off the cob (4 minutes), peas (1 minute), spinach and other greens (2 minutes), strawberries (do not blanch; freeze on a tray then bag).
Avoid freezing: lettuce and cucumber (texture ruined), raw tomatoes (acceptable for cooking but texture changes).
Method two: drying (best for herbs and some vegetables)
Drying preserves food without freezer space and produces lightweight shelf-stable results. Best for herbs, some hot peppers, and certain other vegetables.
Two main methods: air drying (hang bundles in a warm dry place) and dehydrator drying (electric appliance, faster and more reliable). A dehydrator costs $50-$150 and pays back quickly if you produce significant herbs or hot peppers.
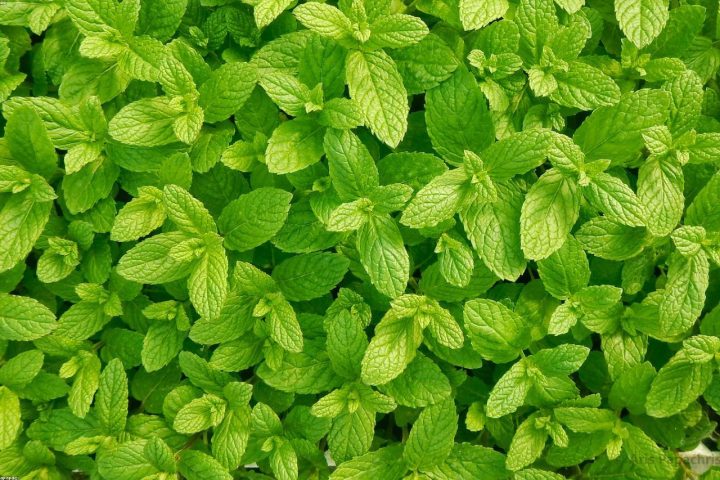
Best for: basil, parsley, oregano, thyme, sage, rosemary, mint, dill (all herbs), hot peppers (whole or sliced), apple slices, mushrooms, some tomatoes (slow drying).
Air-dry herbs by hanging small bundles upside down in a dry warm space for 1-2 weeks. Strip leaves from stems and store in airtight jars.
Method three: fermenting (small effort, big result)
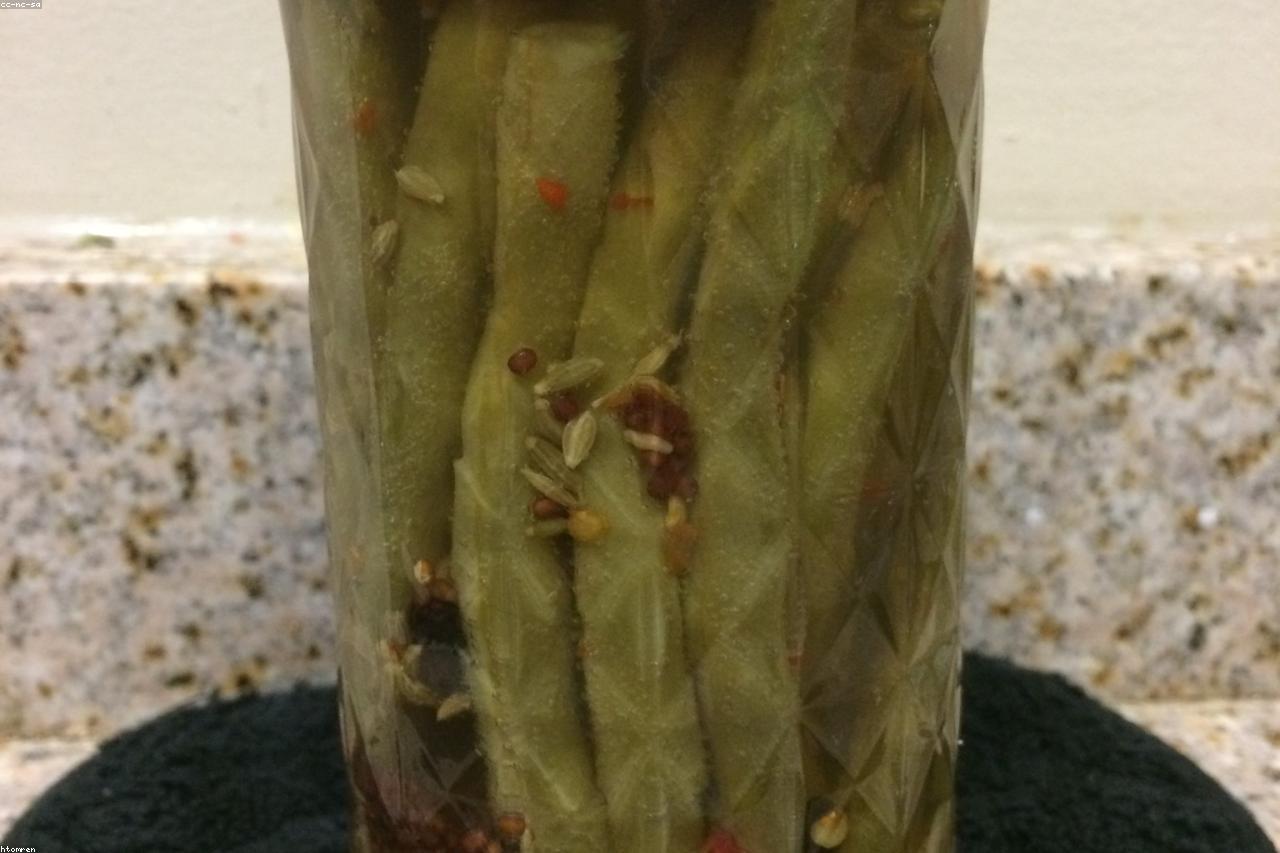
Fermentation is the oldest preservation method and produces some of the most distinctive results: sauerkraut, kimchi, pickles, fermented hot sauce. The process uses salt and natural lactic acid bacteria to preserve and transform vegetables.
Equipment: a clean glass jar with lid, salt, and the vegetables. Total investment: under $10 for a starter setup.
Basic sauerkraut recipe: shred 2 pounds of cabbage. Mix with 2 tablespoons of salt. Massage and squeeze for 5-10 minutes until liquid releases. Pack tightly into a jar, weighted down so vegetables stay submerged in their own brine. Cover loosely (gas needs to escape). Ferment at room temperature for 1-3 weeks, tasting periodically. Refrigerate when desired tang is achieved; it keeps for months.
The technique adapts to many vegetables: pickled cucumbers, kimchi from napa cabbage and Korean radish, fermented hot sauce from peppers, pickled carrots, fermented salsa.
Method four: water bath canning (for high-acid foods)
Water bath canning preserves high-acid foods (jams, fruit preserves, pickles, tomato sauce) in sealed jars at room temperature. The boiling water bath creates a vacuum seal that prevents bacterial growth.
Equipment: a large pot with lid (or a dedicated canner), canning jars and lids, jar lifter, ladle, funnel. Total investment: $40-$80 for basic setup.
Best for: tomato sauce (with added lemon juice or vinegar for safety), fruit jams and jellies, pickled cucumbers and other vegetables, applesauce, salsa (tested recipes only).
Important safety note: water bath canning is only safe for high-acid foods (pH below 4.6). Low-acid foods (most vegetables, meat) require pressure canning, which uses a special appliance and is beyond the scope of basic preservation.
Method five: cold storage (simplest of all)
Some vegetables store well without any processing if kept at the right temperature and humidity. A cool basement or unheated garage often provides suitable conditions.
- Winter squash: 50-55F, low humidity, dry storage; lasts 3-6 months
- Potatoes: 38-45F, high humidity, dark storage; lasts 3-6 months
- Garlic and onions: 35-50F, low humidity, airy storage; lasts 4-8 months
- Carrots and beets: 32-40F, high humidity (pack in damp sand or sawdust); lasts 3-5 months
- Apples: 30-38F, high humidity; lasts 3-5 months
- Cabbage: 32-40F, high humidity; lasts 2-4 months
A simple preservation schedule by month
For a productive home garden, the preservation work concentrates in late summer and autumn.
- July: freeze peas, blueberries, strawberries as they peak; begin drying herbs
- August: can or freeze tomato sauce; freeze blanched green beans and corn; make pickles
- September: freeze winter squash (cooked and pureed), continue tomato preservation, harvest and cure onions and garlic
- October: harvest and store winter squash, potatoes, carrots, beets in cold storage; make sauerkraut from autumn cabbage
- November: assess pantry; identify any preservation gaps; plan next year accordingly
A realistic time budget
A productive home preserver invests roughly 25-40 hours per year in preservation activities. This produces enough preserved food to supplement winter eating significantly.
The work concentrates in late summer and autumn. A typical weekend during peak harvest might include 3-4 hours of preservation work: blanching and freezing beans (1 hour), making and canning tomato sauce (2 hours), drying herbs (30 minutes of active work).
The payoff comes through winter and spring, when home-preserved food adds quality and variety to the kitchen at no ongoing time cost.
Preserving the harvest extends the garden’s value from a summer pleasure into a year-round resource. Freezing handles the bulk; drying suits herbs and hot peppers; fermenting produces distinctive preserved foods; canning extends jam and tomato production; cold storage handles winter squash and root vegetables. Start with one method this year; add another next year. By year three you have built a useful pantry that turns a productive garden into months of meaningful eating.
Related reading from the journal
If you found this useful, you may also like How to Garden When You Travel Often, Garlic, Onions, and Other Crops That Practically Grow Themselves, and Growing Tomatoes Without the Usual Heartbreak.
Further reading
Trusted references we consulted while researching this piece. All external.